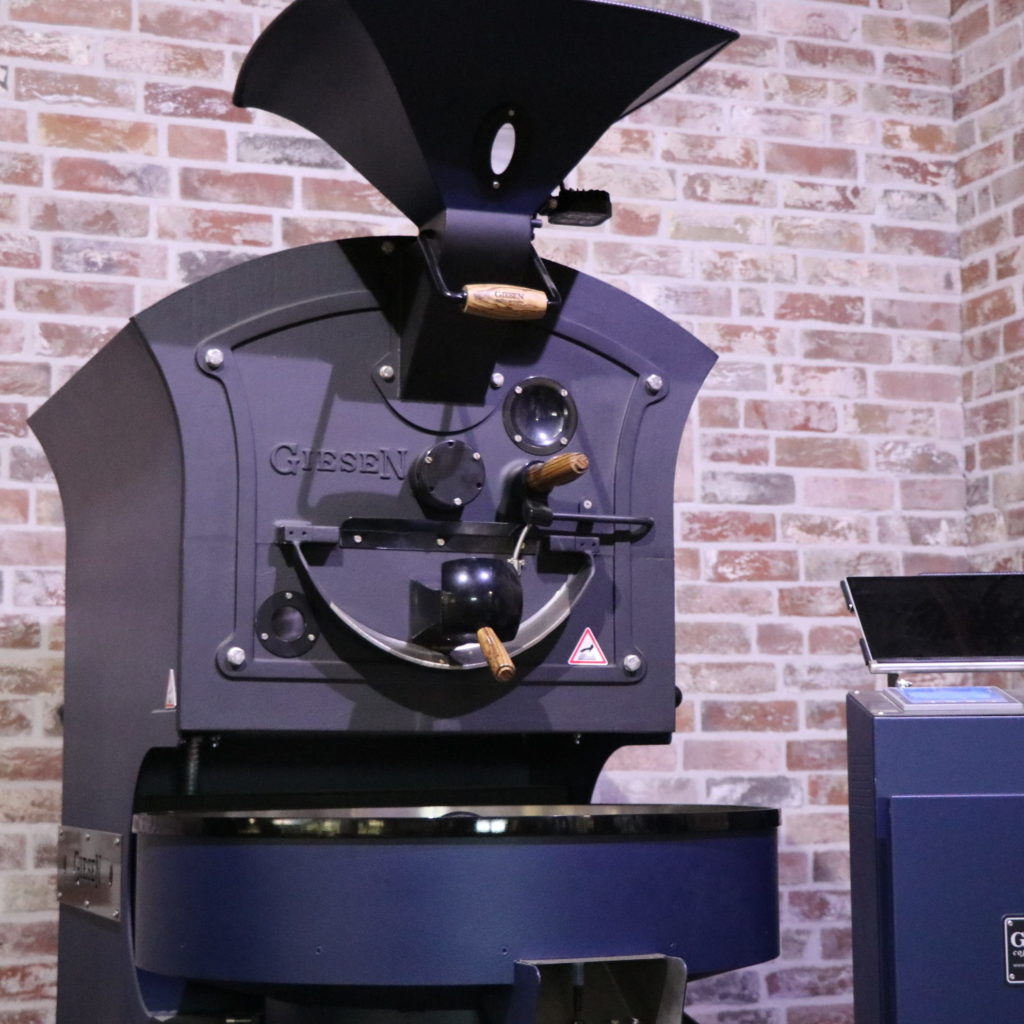
We refer to the distance between the cast iron face plate and the drum as Drum Distance. In this article, we explain the importance of this distance and how to set the distance.
First of all, the importance of the distance. As you will understand, the drum is a rotating object, while the face plate is a static, stationary object. There is a gap between these two parts. This gap should be limited as much as possible so that no coffee beans will fall through it. However, you must do the adjustment accurately. If the distance is too great, too many beans will fall through the hole. When the distance is too short, the drum will scrape against the front plate, causing damage in the long run.
It is therefore important to check the drum distance during major maintenance and to readjust it if necessary. But how does this adjustment work? Make sure you have the following tools at your disposal; a set of Allen keys and the hook wrench included in the tool bag. Specific instructions pertaining to your specific roaster model can be found in your manual.
Instructions
Start off by loosening the countersunk Allen bolts on the bearing cover. You only need to loosen the bolts, and not completely remove them. When you’ve done this, take the hook wrench and place it in the slots. Turn the drum a few turns clockwise. Before continuing, make sure your roaster is warmed up. This so that the metal is expanded, as will happen during roasting. After a sufficient warm-up time, you can gently turn the drum forward by turning the drum anti-clockwise. Do this until you hear the drum scrape lightly against the front plate. When you hear this scraping sound, turn the drum 180 degrees clockwise. Your drum is now set to the correct distance. Then tighten the countersunk Allen screws again, and your roaster is ready for use again.


